Spring Boot - Google OAuth2 登录
在本章中,我们将了解如何使用带有 Gradle 构建的 Spring Boot 应用程序添加 Google OAuth2 登录。
首先,在您的构建配置文件中添加 Spring Boot OAuth2 安全依赖项,您的构建配置文件如下所示。
buildscript {
   ext {
      springBootVersion = '1.5.8.RELEASE'
   }
   repositories {
      mavenCentral()
   }
   dependencies {
      classpath("org.springframework.boot:spring-boot-gradle-plugin:${springBootVersion}")
   }
}

apply plugin: 'java'
apply plugin: 'eclipse'
apply plugin: 'org.springframework.boot'

group = 'com.tutorialspoint.projects'
version = '0.0.1-SNAPSHOT'
sourceCompatibility = 1.8

repositories {
   mavenCentral()
}
dependencies {
   compile('org.springframework.boot:spring-boot-starter')
   testCompile('org.springframework.boot:spring-boot-starter-test')
   compile('org.springframework.security.oauth:spring-security-oauth2')
   compile('org.springframework.boot:spring-boot-starter-web')
   testCompile('org.springframework.boot:spring-boot-starter-test')
}
现在,在主 Spring Boot 应用程序类文件中添加 HTTP 端点以在通过 Spring Boot 进行身份验证后从 Google 读取用户主体,如下所示 −
package com.tutorialspoint.projects.googleservice;

import java.security.Principal;

import org.springframework.boot.SpringApplication;
import org.springframework.boot.autoconfigure.SpringBootApplication;
import org.springframework.web.bind.annotation.RequestMapping;
import org.springframework.web.bind.annotation.RestController;

@SpringBootApplication
@RestController
public class GoogleserviceApplication {
   public static void main(String[] args) {
      SpringApplication.run(GoogleserviceApplication.class, args);
   }
   @RequestMapping(value = "/user")
   public Principal user(Principal principal) {
      return principal;
   }
}
现在,编写一个配置文件以启用 OAuth2SSO 以实现 Web 安全并删除 index.html 文件的身份验证,如图所示 −
package com.tutorialspoint.projects.googleservice;

import org.springframework.boot.autoconfigure.security.oauth2.client.EnableOAuth2Sso;
import org.springframework.context.annotation.Configuration;
import org.springframework.security.config.annotation.web.builders.HttpSecurity;
import org.springframework.security.config.annotation.web.configuration.WebSecurityConfigurerAdapter;

@Configuration
@EnableOAuth2Sso
public class WebSecurityConfiguration extends WebSecurityConfigurerAdapter {
   @Override
   protected void configure(HttpSecurity http) throws Exception {
      http
         .csrf()
         .disable()
         .antMatcher("/**")
         .authorizeRequests()
         .antMatchers("/", "/index.html")
         .permitAll()
         .anyRequest()
         .authenticated();
   }
}
接下来,在静态资源下添加 index.html 文件,并添加重定向到用户 HTTP Endpoint 的链接,以读取 Google 用户 Principal 如下图所示 −
<!DOCTYPE html>
<html>
   <head>
      <meta charset = "ISO-8859-1">
      <title>Insert title here</title>
   </head>
   <body>
      <a href = "user">Click here to Google Login</a>
   </body>
</html>
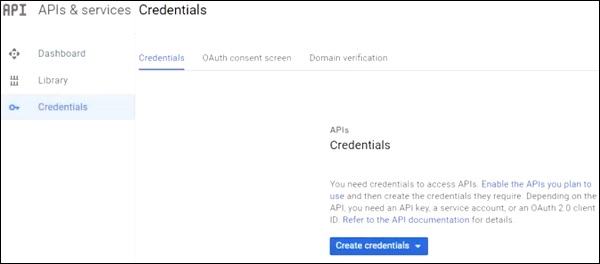
注意 − 在 Google Cloud 控制台中 - 启用 Gmail 服务、分析服务和 Google+ 服务 API。
然后,转到 Credentials 部分并创建一个凭证并选择 OAuth Client ID。
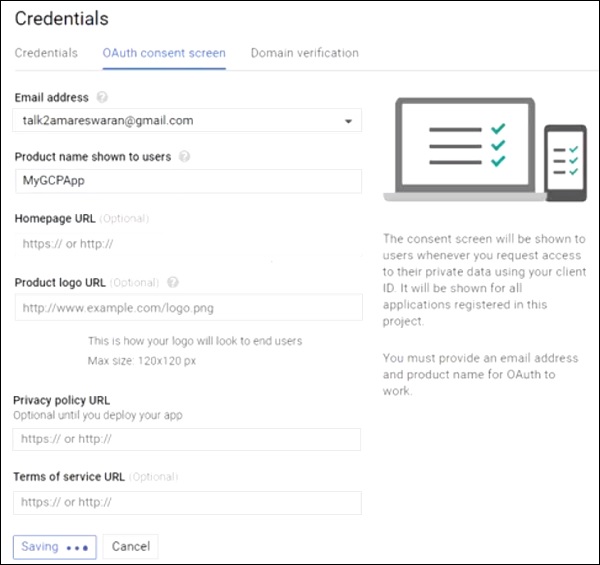
接下来,在 OAuth2 同意屏幕中提供产品名称。
接下来,选择 Application Type 作为"Web application",提供 Authorized JavaScript origins 和 Authorized redirect URIs。
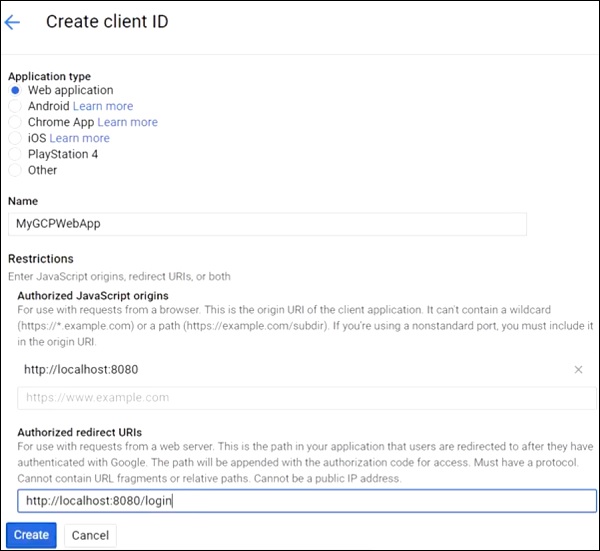
现在,您的 OAuth2 客户端 ID 和客户端密码已创建。
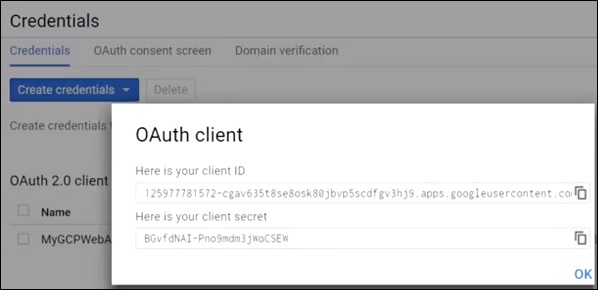
接下来,在您的应用程序属性文件中添加客户端 ID 和客户端密码。
security.oauth2.client.clientId = <CLIENT_ID>
security.oauth2.client.clientSecret = <CLIENT_SECRET>
security.oauth2.client.accessTokenUri  =  https://www.googleapis.com/oauth2/v3/token
security.oauth2.client.userAuthorizationUri  =  https://accounts.google.com/o/oauth2/auth
security.oauth2.client.tokenName = oauth_token
security.oauth2.client.authenticationScheme = query
security.oauth2.client.clientAuthenticationScheme = form
security.oauth2.client.scope = profile email

security.oauth2.resource.userInfoUri  =  https://www.googleapis.com/userinfo/v2/me
security.oauth2.resource.preferTokenInfo = false
现在,您可以创建一个可执行的 JAR 文件,并使用以下 Gradle 命令运行 Spring Boot 应用程序。
对于 Gradle,可以使用如图所示的命令 −
gradle clean build
在“BUILD SUCCESSFUL”之后,您可以在 build/libs 目录下找到 JAR 文件。
使用命令 java –jar <JARFILE> 运行 JAR 文件,并在 Tomcat 端口 8080 上启动应用程序。
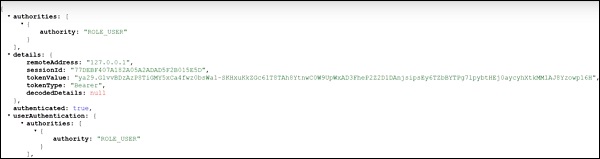
现在点击 URL http://localhost:8080/ 并点击 Google Login 链接。

它将重定向到 Google 登录屏幕并提供 Gmail 登录详细信息。
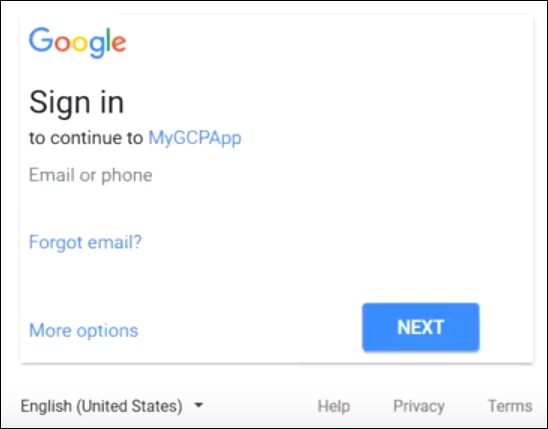
如果登录成功,我们将收到 Gmail 用户的 Principal 对象。